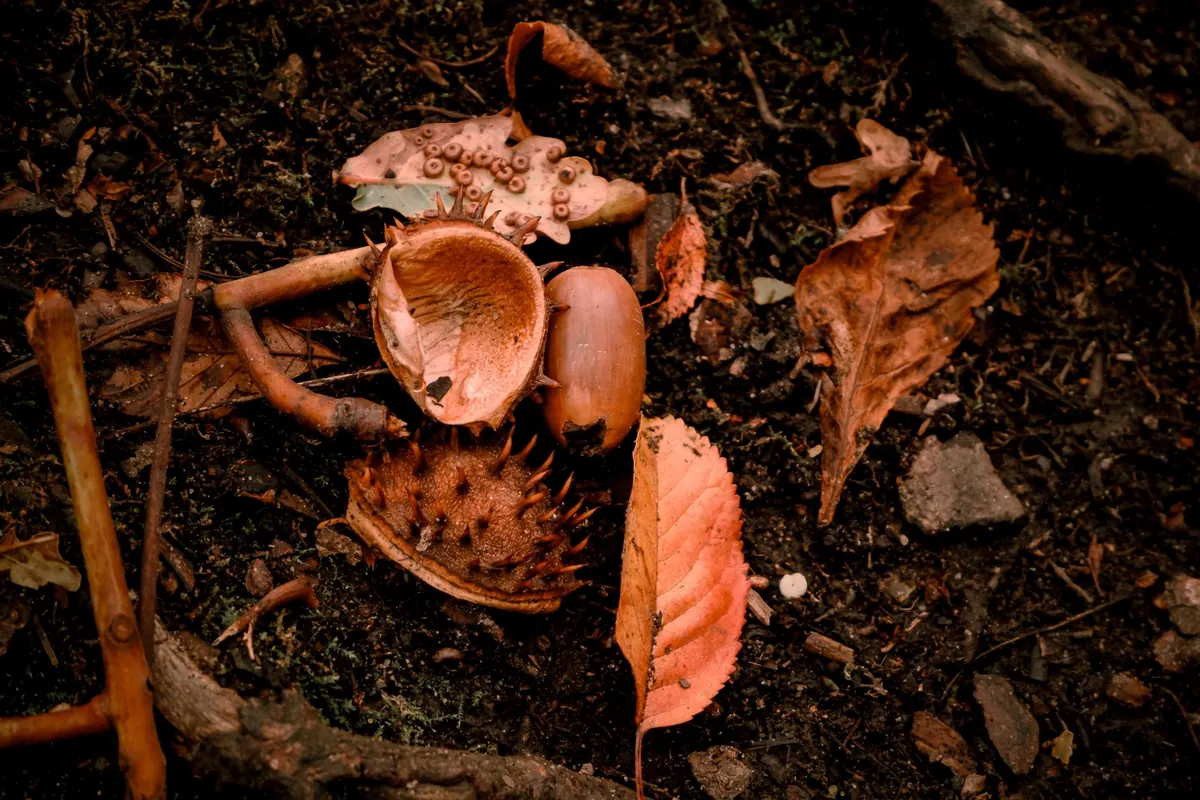
Every autumn, kitchen tables fill up with horse chestnuts and somebody's oven starts to smell faintly of vinegar. The urge behind it is perfectly sensible: a soft conker splits on the first decent hit, while a properly hard one can survive a whole playground season and become the stuff of legend.
The methods handed down for hardening them vary enormously. Some genuinely toughen the shell. Others just make it smell strange and turn it brittle. Here is what each one does, and which are worth your time.
A conker is mostly water, starch and a thin glossy shell. Fresh out of its spiky case, it feels heavy and slightly yielding. As it loses moisture, the shell sets and the kernel inside tightens — which is why a conker left in a cool, dry place for a month is noticeably harder than one you picked yesterday.
There is a limit, though. Drive the water out too fast and the shell cracks along its seam, or the whole thing shrinks into a wrinkled husk that shatters instead of resisting. Hardening is about controlling how the moisture leaves, not forcing it out. Once you accept that, most of the old folklore starts to make sense.
The oven is the method everyone's uncle swears by, and it does change a conker quickly. Heat the oven low — roughly 100–120°C — lay the conkers on a lined tray and give them fifteen to twenty minutes, turning once. If you hear hissing, or see the shell darken and split, you have cooked it rather than hardened it.
What you get is a shell that genuinely feels harder, usually a shade or two darker. What you also get is brittleness. Fast drying builds stress into the shell, and baked conkers tend to explode into three pieces on a solid hit rather than cracking gradually. They also shrink, so any hole drilled beforehand can end up loose around the string.
My verdict: it works, at a cost. A baked conker is a lottery ticket — occasionally brilliant, frequently gone by lunchtime.
Soaking conkers in vinegar, usually malt, is supposed to toughen the shell. On its own it is the weakest of the popular methods. Two days in vinegar leaves a conker smelling like a chip shop and slightly softer, because both liquid and acid work on the shell. Leave it a week and the surface goes leathery.
Combined with heat. The old recipe, known in playgrounds as stamping, goes like this: soak the conker in vinegar for a day or two, pat it dry, then bake it low and slow. The soak is said to draw moisture out; the oven then sets the shell. It does produce a hard conker — and a brittle one, for exactly the same reasons as plain baking.
One practical caution: whatever you put on a conker ends up on the hands of whoever plays with it. Vinegar is harmless enough in small amounts, but leave the varnish, resin and superglue out of it entirely. They are not worth the mess, they crack off in flakes, and they have no place near children's hands.
These come up often and deserve a quick dismissal.
The most effective preparation is also the dullest: time. Conkers dried slowly in cool, moving air end up dense and tough rather than brittle, and they stay within the rules of any tournament.
Drill the hole after curing, not before. The conker shrinks as it dries, and a hole made early can end up loose or split. A 4–5mm bit turned slowly does the job; thread a shoelace through, knot it, and you are done. A lace has a little give in it, which saves conkers from shock.
You do not need to smash anything to judge a batch. Weigh a conker in your palm — the heavy ones are usually the dense ones. Tap two conkers lightly together and compare the note across the batch; the harder, drier ones sound tighter and higher. Then check the shell with your thumbnail. Any give at all, and that conker goes in the spare pile.
Keep a few spares cured alongside your main conker. Playgrounds are unforgiving, and having a second hardened conker ready is far better than starting again the night before a match.
Organised competitions publish their own rules, and many of them require conkers to be natural and unmodified. Baked, stamped or coated conkers are commonly excluded. If you are playing for anything more than pride, read the rules first — turning up with a suspiciously dark, vinegary-smelling conker tends to end the conversation quickly.
For everything else, the routine is simple: choose well, cure slowly, drill late, and keep a spare. It takes no equipment, no oven time and no strange smells, and it will beat a rushed baked conker more often than not.
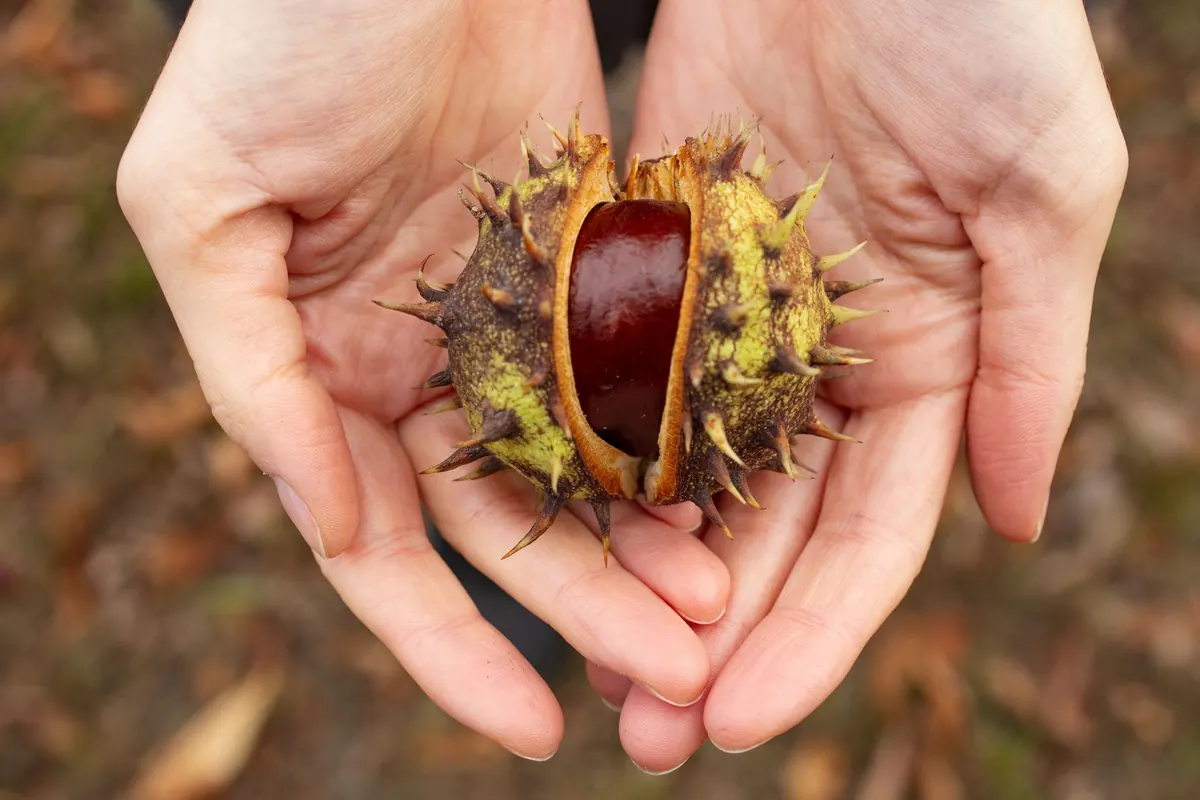
Photo: Nathan J Hilton / Pexels
A record-setting conker at this year's championship has players rethinking grip, stance and strike. Here is how the...
New research on horse chestnut diseases shows how leaf miner, leaf blotch and bleeding canker affect conker size and...

How a bitter, inedible seed from an ornamental tree became the centre of autumn playground life — and how children...

All the conker news, games, and lore..
